

I recently refreshed my WordPress theme and plugins after performance issues and errors on an eight year old theme. It was a fun theme, but it needed to go. After upgrading to a new WordPress theme, installing updates on all plugins gave me a WordPress 500 error. The error isn’t actually from WordPress. It’s from IIS, if you host your site on Windows. Here is how I fixed it!
Why You’re Getting WordPress 500 Errors
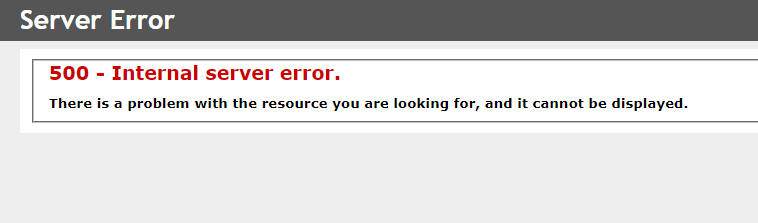
If you’re like me, you started your WordPress site years ago when plugins and WordPress code were much smaller. You have enough server resources for a small blog, so the thought of upgrading your virtual machine’s RAM or CPU seems unnecessary. When you update to a newer theme or WordPress version, you start getting these errors:
What’s worse is that if this happens in the middle of a WordPress core update, it can break your site. My issue started happening as soon as I installed a large plugin named Elementor. Hopefully, you have backups of your code to restore it. I use Azure virtual machines, so I could just restore from the previous night’s backup. Still, it’s annoying, stressful, and wastes your time. If you’re not technical, it can be especially stressful.
Fixing Error 500 in WordPress
Note that a server 500 error is a general error, so this won’t fix all 500 internal server errors. Here are some pre-requisites to tell you if this change might fix your issues:
- Your WordPress site is running slow
- You must recycle the application pool after updating
- Scans from applications like WordFence crash the site
- Your site displays a critical error page to users after plugin updates
- Upgrading goes slow and then returns a 500 error
In my case, my site was running slow but then completely crashed when I would perform updates to plugins and WordPress itself. I disabled plugins and tried removing some widgets that I thought were causing issues, but it didn’t work.
Steps to Fix It
First, you need to go to your host machine. I use an Azure VM, but you might have cPanel or some other interface with your WordPress host. The important part is that you need to be able to access the php.ini file. This file contains several settings for WordPress and the PHP interpreter running the site.
- Open the php.ini file with Notepad.
- Do a search for the following configuration setting:
memory_limit
3. Change the memory_limit value to 1024M. (Mine was set to 128M, which is far too low for a modern WordPress site)
Bonus PHP Setting!
Scroll a bit up the file and you’ll see this other setting:
max_execution_time
It’s probably set to 60, which is 60 seconds. It’s recommended that you set this value to 300 seconds (5 minutes).
After you change the settings in the php.ini file, you need to stop and restart the website. You don’t need to stop and start all of IIS (and essentially all your websites), and you don’t need to reboot the server entirely. Follow these steps:
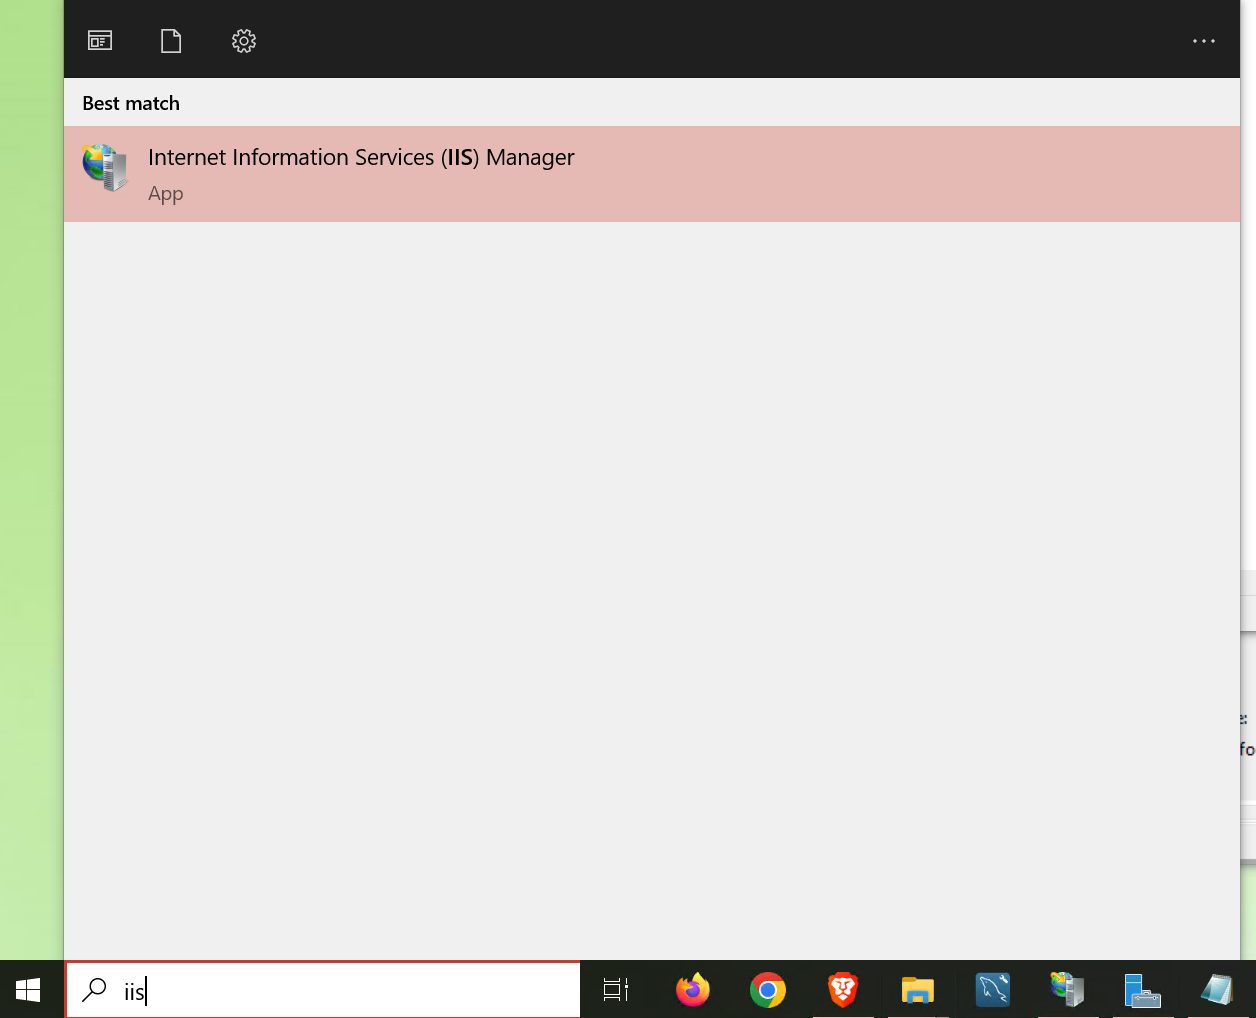
1. Open IIS Manager by typing “iis” into the search bar.
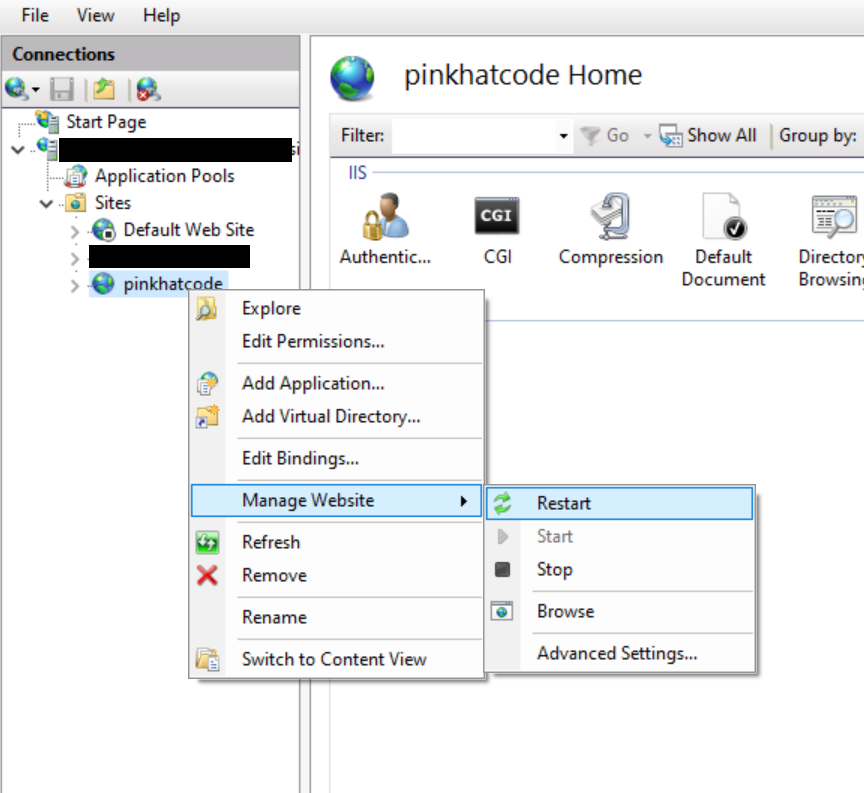
2. When IIS opens, go to your list of websites and right click the name given to your website. Click the “Restart” button to bounce the site. This will reload the new PHP settings.
After you’re done, check your site. It should run noticeably faster. Before any update, you should still take a backup of your site files and database, but now you should be able to upgrade all your plugins and WordPress core functions.